TL;DR
- Cleaning an email list means running every address through a 4-layer verification check — format, domain, mail server, and live mailbox — not just removing unsubscribes.
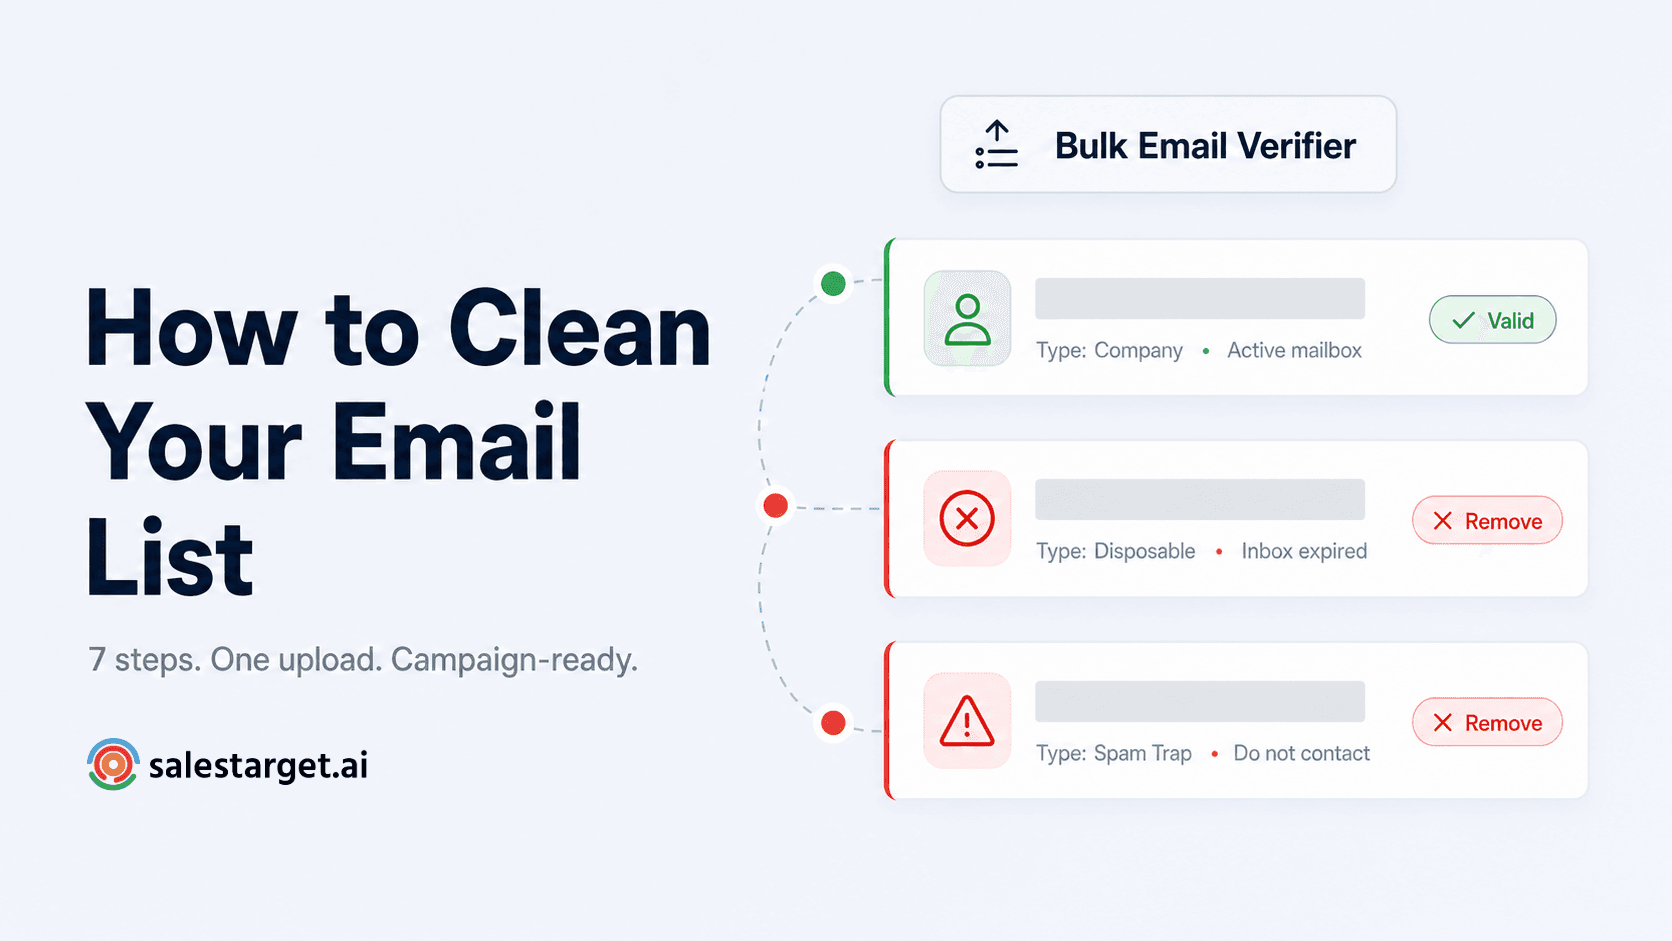
- The process takes 7 steps: prepare your CSV, upload to SalesTarget's Bulk Email Verifier, wait for verification, review results, download clean CSV, filter by status, and import only Valid addresses into your campaign.
- Clean before every major campaign and re-verify any list older than 90 days — B2B data decays at 20–30% annually.
- The result: bounce rate under 3%, protected sender reputation, and campaign metrics that reflect real engagement.
A lot of teams think they've cleaned their list when they've removed the bounces from their last campaign and deleted a few obvious unsubscribes. That's maintenance. It's not cleaning. Cleaning means checking every address against live mail servers before the campaign starts — catching the dead mailboxes, spam traps, and disposable inboxes that haven't bounced yet but will.
Here's the exact process — from raw CSV to campaign-ready list — using SalesTarget's Bulk Email Verifier. You can follow this today, before your next send.
What 'cleaning an email list' actually means
Email list cleaning is the process of verifying every address in your contact list to confirm it is real, active, and safe to send to — before your campaign launches. It is not the same as list management (removing bounces and unsubscribes after sending). Cleaning happens before, not after.
A proper list clean checks five things on every address:
| Check | What it catches |
|---|---|
| Format | Typos, missing @ symbols, syntax errors — addresses that could never deliver |
| Domain | Dead or non-existent domains — companies that shut down or let their domain expire |
| Mail server (MX) | Domains with no mail server configured — real domain, can't receive email |
| Live mailbox (SMTP) | Deleted accounts, inactive inboxes — the person has left the company or closed the account |
| Type classification | Spam traps, disposable inboxes — addresses that will damage your domain if contacted |
SalesTarget's Bulk Email Verifier runs all five checks automatically on every address in your uploaded list. You don't configure anything — upload your CSV and the system handles the rest.
The 7-step process: from raw list to campaign-ready
Step 1 — Prepare your CSV
Your CSV needs one column labelled email with one address per row. You can include additional columns — name, company, job title — and they will carry through to your results file untouched. Remove duplicate rows before uploading if you know they exist. The system removes duplicates automatically but starting clean saves processing time on large lists.
Step 2 — Go to Lead Validation and click Validate a New List
Open SalesTarget and navigate to Lead Validation in the left sidebar. The main dashboard shows your Email Verifier and Email Finder cards plus your verified list history. Click Validate a New List to start a new bulk job.
Step 3 — Name your list and upload your CSV
Give your list a descriptive name — something that tells you the source and date, like "May 2026 Outbound List" or "Conference Leads Q1." This helps you track which list corresponds to which results when you have multiple jobs running. Then drag and drop your CSV onto the upload area or click to browse and select the file. Verification starts automatically.
Step 4 — Wait for verification to complete
A live progress bar shows you how far through the list the system is. Lists under 1,000 addresses typically complete in a few minutes. Larger lists take longer — a 10,000-address list may take 15–30 minutes. You can navigate away from the page entirely; your job stays in your dashboard and the results will be waiting when you return. No need to keep the tab open.
Step 5 — Review your results
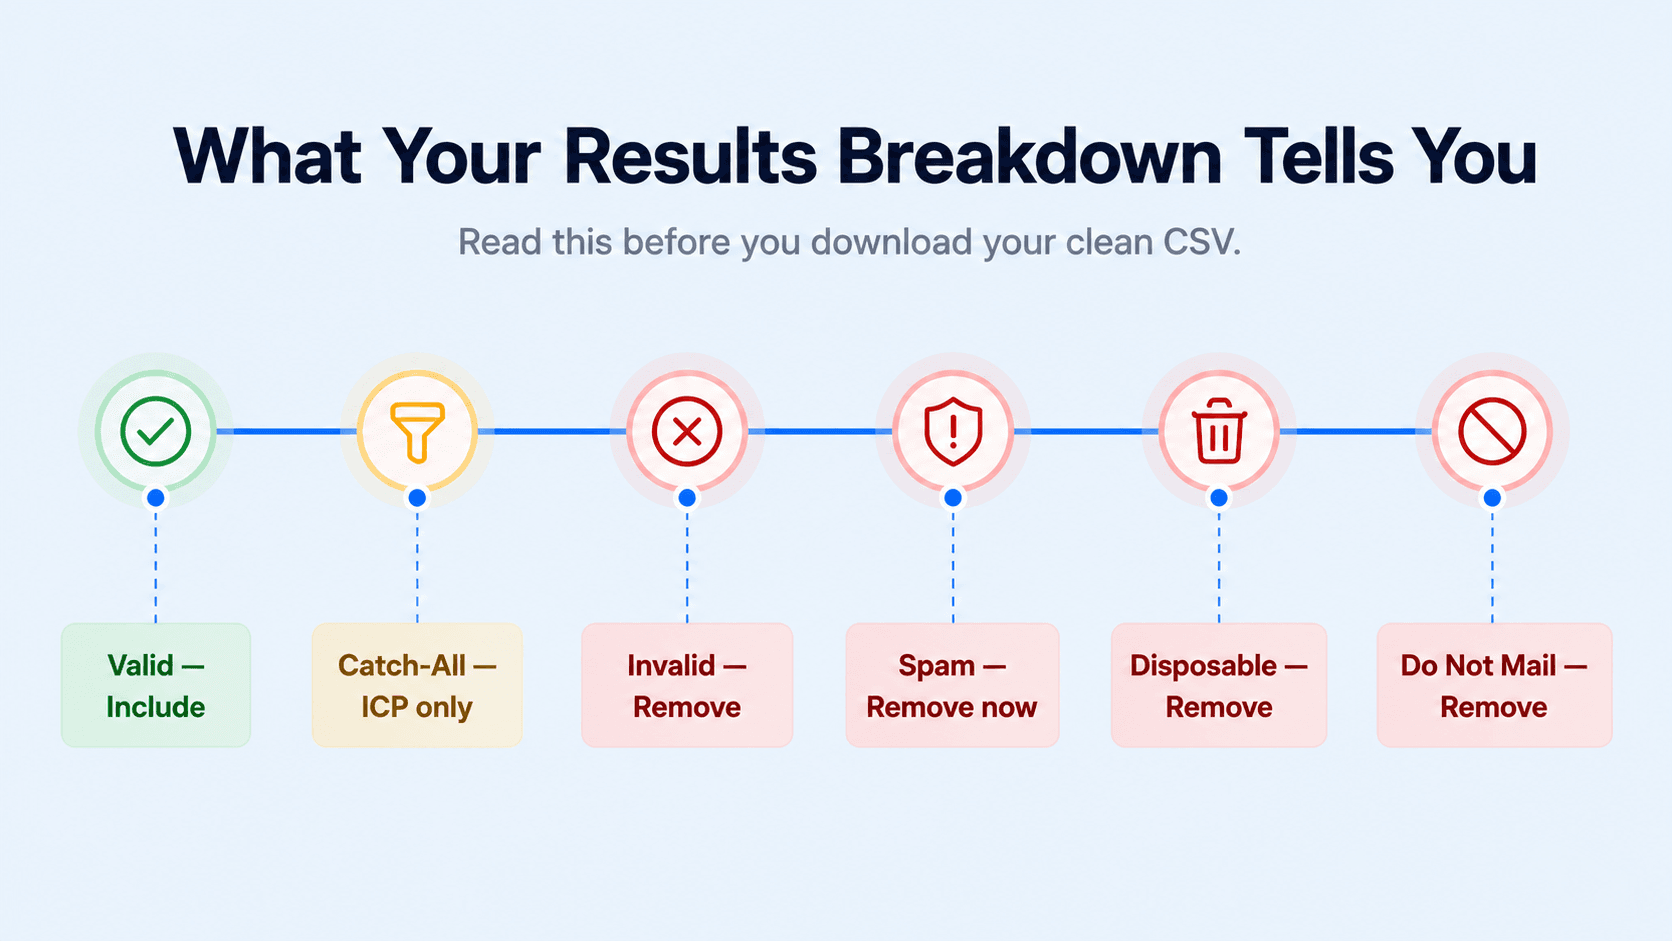
Once complete, your job shows a breakdown of the list — how many addresses are Valid, Invalid, Catch-All, Spam, Abuse, Disposable, and Do Not Mail. This breakdown tells you about your list health before you touch the data. A high spam trap or disposable count signals a data sourcing problem worth investigating. A high invalid count on a recent list signals decay in your data vendor or CRM.
What each status means
Results breakdown guide
- Valid — Confirmed deliverable. Include in your campaign.
- Catch-All — Domain accepts all mail, individual mailbox unconfirmed. Include only for high-priority ICP contacts.
- Invalid — Confirmed not deliverable. Remove.
- Spam — Spam trap address. Remove immediately.
- Abuse — Known complaint address. Remove.
- Disposable — Temporary inbox. Remove.
- Do Not Mail — Flagged as do-not-contact. Remove.
Step 6 — Download your clean CSV
Download your results file. It contains all your original columns plus a verification status column appended to every row. Open the file and filter the status column to keep only Valid addresses. If you have high-priority ICP contacts in the Catch-All category, you can choose to include those in a separate segment with the understanding that they carry more risk. Remove everything else.
Step 7 — Import only Valid addresses into your campaign
Import your filtered list into your Email Outreach campaign in SalesTarget. Every address in your sequence has now been verified. Your bounce rate will be at or under 3% from send one. Your open and reply rates will reflect real engagement — not a mix of real people and dead inboxes.
How often should you clean your list?
B2B email lists decay at roughly 22–30% per year — meaning about 2% of your contacts become invalid every month. A list that was clean three months ago may already have 6% invalid addresses in it. The frequency rule is straightforward:
| Situation | When to clean |
|---|---|
| Before any major campaign | Always — no exceptions |
| List older than 90 days | Re-verify before use |
| Purchased or third-party list | Verify before first use — always |
| CRM segment dormant for 6+ months | Verify before re-engaging |
| Bounce rate above 2% on last campaign | Verify entire list immediately |
The fastest way to check your overall list health
Use the dashboard chart
The Email Verification Status donut chart on your Lead Validation dashboard shows your cumulative valid vs invalid ratio across all verified lists. If your valid rate is dropping campaign over campaign, that's a signal your data sources are degrading — not just individual lists. Check the chart before every campaign launch as a quick health indicator. If your valid rate is below 80%, your list quality needs attention before you send.
Clean your list before your next campaign. Not after.
SalesTarget's Bulk Email Verifier processes your entire contact list — format, domain, mail server, live mailbox, and type classification — in one upload. Download a clean CSV and send with confidence.
✓ 50 credits ✓ 7-day trial ✓ No credit card required